Transforming Kid Art Into Wall Art
Whether it’s painting, drawing, doodling, or scribbling, kids like to make art. But where does all that art end up? Maybe it gets pinned up on the fridge, piled up in some corner of the house, or possibly even in the trash.
We have an idea for all you proud parents out there. Save your child’s favourite pieces and repurpose them in this easy DIY project. Transform your child’s art into wall worthy art that you will gladly display.
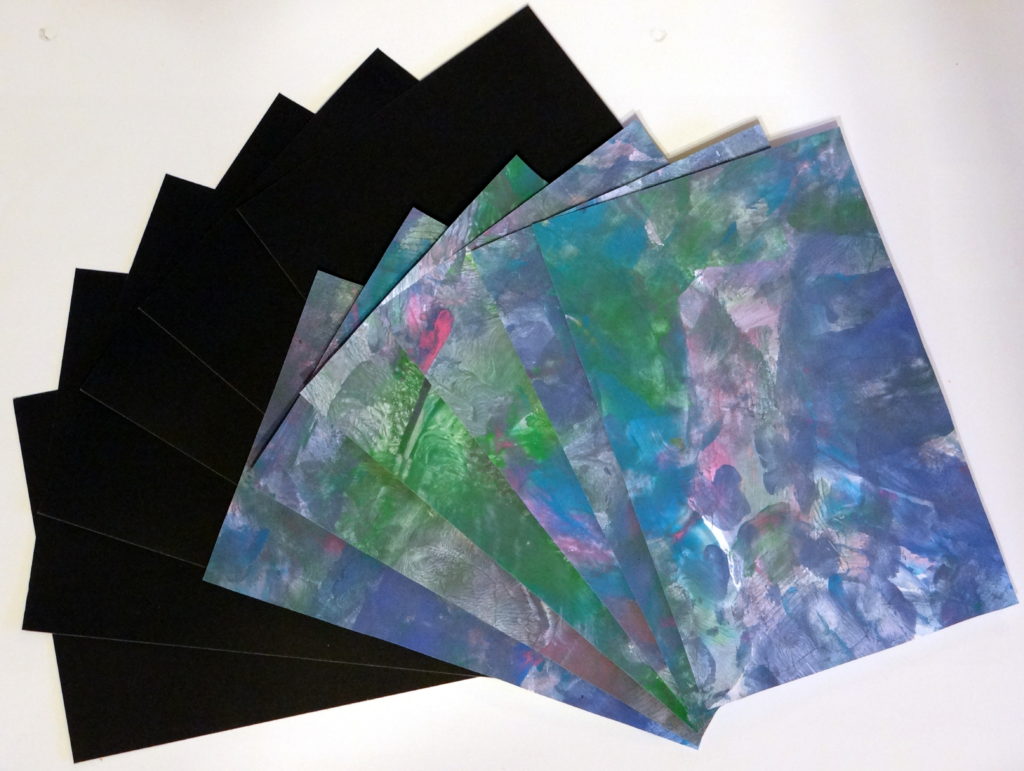
For this particular project we used some art from one of our finger painting sessions. Just about any kid art will do as long as it’s on paper. From our experience, it turns out better if there is a lot going on with little empty space showing.
Supplies
Here’s what you will need to transform that kid art into wall art.
- Pictures, paintings, or doodles made by your child
- White Paper
- Black bristol board
- A ruler
- Scissors
- Pencil
- Picture frame of your choice
Instructions
To begin, measure your frame and cut out a piece of bristol board that will fit in it snuggly. If your frame tells you what size picture fits in it, you can just use those measurements. Next cut out a piece of your child’s artwork that is slightly smaller. Our frame has six opening for pictures so this is what ours looked like a this stage.
Now you’re going to need to come up with a design. It can be a simple picture such as a heart, or a word that is meaningful to you. For our project we decided on the word “family”.
Take a piece of white paper that is the same size as your piece of artwork. Draw out your design and tweak it until you are happy with it. Cut out your design creating a template. Using a pencil trace the template onto the bristol board.
*Tip: If you put your design face down on the back of the bristol board, you won’t have to worry about pencil lines being visible on the finished product.
Once you have your design on the bristol board, it’s time to cut it out. Cut carefully and avoid creasing the paper. For this project you will be using the area around your template and not the design itself. Cut accordingly.

*Tip: To give your finished product a more polished look, run a black permanent marker along the edges of all your cut lines to hide the exposed white inside of the bristol board.
Now all you need to to is put it together. Place the picture frame face down on a flat surface and open the back. Put the bristol board down first on top of the glass, followed by your child’s artwork. Then replace the back of the frame.
*Tip: To keep it secure, you can use a small piece of tape to adhere the artwork to the bristol board.
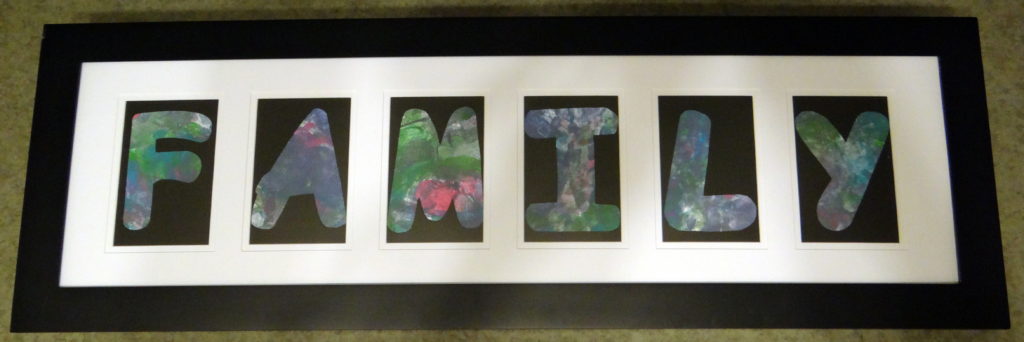
That’s it! You now have a neat way to display some kid art.
Sweet #KCAKOLS
I really like this idea, it looks fantastic! I keep all my daughter’s pictures in a folder, but it would be great to do something special with them! #KCACOLS
What a fantastic way to repurpose children’s artwork. It looks so impressive! #KCACOLS
What a marvelous idea! I pinned this.
#kcacols
This is a great idea, I am going to follow your lead#kcacols@_karendennis
A lovely creative idea and so effective #KCACOLS
What a brilliant idea X #kcacols
What a great idea. E is always coming home from nursery with some great coloured artwork, this would be a great way to display it all! #KCACOLS
Thanks this is such a lovely idea. I have a draw full of pictures we could repurpose like this. Will have to give it a try. #KCACOLS
This is a neat idea for sure. I’m not a crafty enough person to want to make a craft out of my kid’s artwork, but I do feel it’s a great way to save it and upgrade it. I think yours turned out stunning! I’m sure it will be treasured for years to come. #KCACOLS
This is great. My daughter’s room is full of stuff that she has made in school but I’ll confess not a lot of it looks this fancy! #KCACOLS
That looks great! Such a simple idea, and looks so cool! #KCACOLS
This is absolutely fantastic. I am honestly going to try this. My two daughters are forever sitting at the kitchen table painting and drawing pictures and they accumulate so much that I run out of ideas of what to do with them – there is only so much you can stick up on the fridge! I love this idea, so creative and resourceful! #KCACOLS
This is a really neat idea! When our boy was younger, I did a kind of feature wall with a collection of his fingerpaint “master pieces” which I’d placed in (cheap) frames from IKEA. They were plain frames but in a range of different colours (red, yellow, green, aqua, and cornflower blue) and it looked really effective.
I should put some more recent artwork if his up really. Thanks for the inspiration! x #KCACOLS
I love this. My daughter is always making little doodles, this would be a great way to display them.
#KCACOLS
What a great idea! We have so much ‘artwork’ from our 4 year old’s nursery and I have no idea what to do with it! #kcacols
that’s absolutely fantastic what a great idea xxx #kcacols
This is a lovely idea & so much nicer than having scraps of paper everywhere! #KCACOLS
That’s really cute, I love it. #kcacols
Brilliant idea! Loved this. Thanks for sharing ♥️ ♥️ Let me know if you are interested in doing collabs! xx
We’re always open to collaborating with likeminded people. Send me an email with your thoughts. admin@peachyandclementine.com
Very nice Diy – I loved the final Family frame
Hi you have a fine website. It was very easy to post. I enjoyed your site